Product activation, design and menu
A user-friendly interface and attractive design of the SalesArt Drupal Commerce theme with Drupal Commerce positively affect conversion. If the site is hard to perceive or the navigation is confusing, users will leave. This section covers theme activation, color scheme, basic customization and menu management.
1. Activation and theme settings
It is assumed that you have already purchased a license for the SalesArt product. If you haven’t done that yet, you can purchase the product from us.
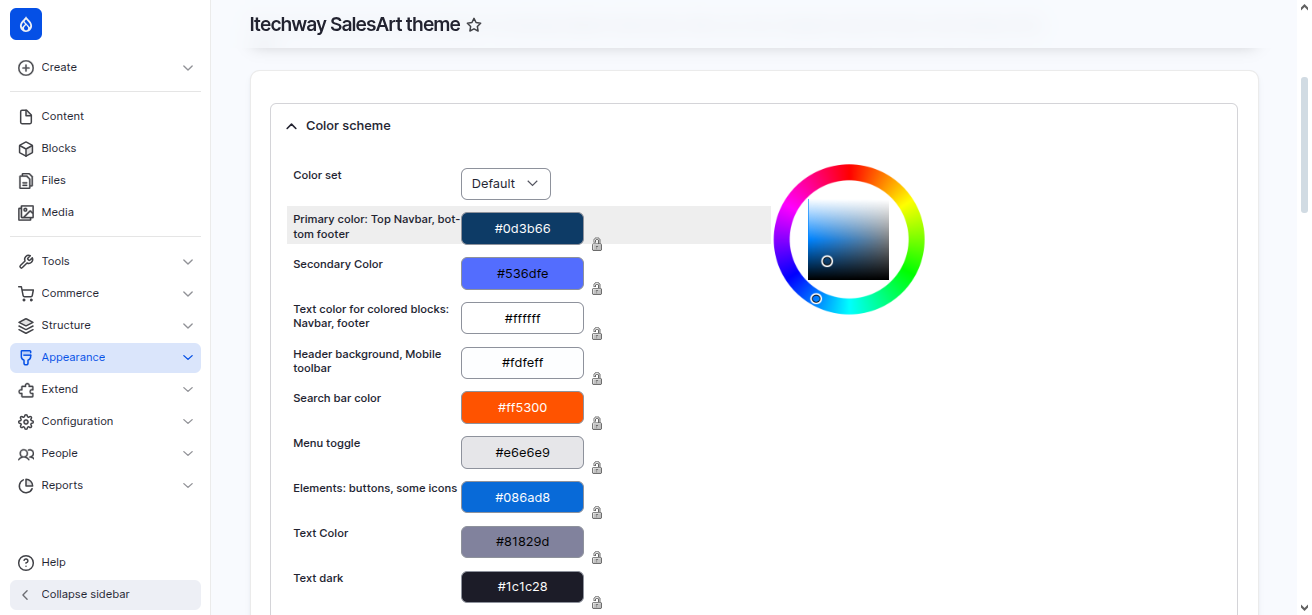
To change the color scheme and set basic theme options & activation:
- Go to Appearance → Installed themes.
- Select the Itechway SalesArt theme.
- Enter the license key you received after purchase.
- Configure options (upload logo, favicon, color scheme).
🔹 Customization capabilities:
- add brand logo and slogan;
- configure color palette;
- choose fonts (coming soon);
- customize layout (block positions). Enable theme debugging (Allow theme debug) for developers — it outputs TWIG variables.
2. Managing blocks
The SalesArt theme already provides a design-oriented block layout. Drupal allows placing blocks (widgets) into regions. To manage block placement go to Structure → Block layout (/admin/structure/block).
🔹 Typical regions:
- header;
- sidebar;
- footer.
🔹 Typical store blocks:
- site search;
- cart;
- category menu;
- promotions and banners;
- newsletter subscription.
3. Site menu
Menu is the main navigation for the online store.
3.1 Menu types in SalesArt.
- Main navigation — sections like Blog, Payment, Delivery, Brands, About us, Warranty.
- Categories — the product catalog and all product categories.
To speed up menu population you can automatically copy links from Taxonomy (see Taxonomy section): when editing a taxonomy term enable “Create link in menu” and choose “Parent: Categories” (see Pic).

- User menu — account, orders, logout.
- Footer info — Blog, Brands, About, etc.
- Popular categories in the footer.
3.2. Managing menus
- Go to Structure → Menus.
- Select the desired menu (e.g. “Main navigation”).
- Add a new menu item (page, category or link).
- Reorder items via drag & drop.
You can customize the menu by adding icons that suit your needs. To do this, select the appropriate icon when editing. If you don't need this functionality, disable the UI Icons for Menu module.
Catalog, Promotions, About, Contacts.
4. Design and menu recommendations
- Use a simple menu hierarchy (no more than 2–3 levels).
- Keep the cart and search prominent.
- Add legal/service links in the footer: Privacy Policy, Return Policy.
- Test usability: good UX = more orders.